A little setup now means a lot more hands-on learning later.
Before you can direct agents in the GitHub Copilot app, you need the app installed and signed in, your copy of the course repository connected, and the practice items that later chapters use. This chapter walks you through the setup process and checks the tools that the exercises use.
Learning Objectives
By the end of this chapter, you’ll be able to:
- Install and set up the GitHub Copilot app
- Connect your fork of the course repository as a project and start a project session
- Check the required tools in the app’s Terminal tab
- Run the setup script that creates the course’s labels, practice issues, branches, and pull requests
⏱️ Estimated Time: ~20 minutes
Prerequisites
- A GitHub account
- A Copilot plan, or you can opt to continue with your own model provider during sign-in
- For Copilot Business or Enterprise, the GitHub Copilot app policy must be enabled.
- Git installed on your machine
- Node.js LTS to run
samples/book-app-webfor the hands-on exercises - GitHub CLI (
gh) for the initial one-time setup script used in the course
You will check the tool versions in the Copilot app’s Terminal tab after connecting your repository.
The Course Theme: Working in a Recording Studio
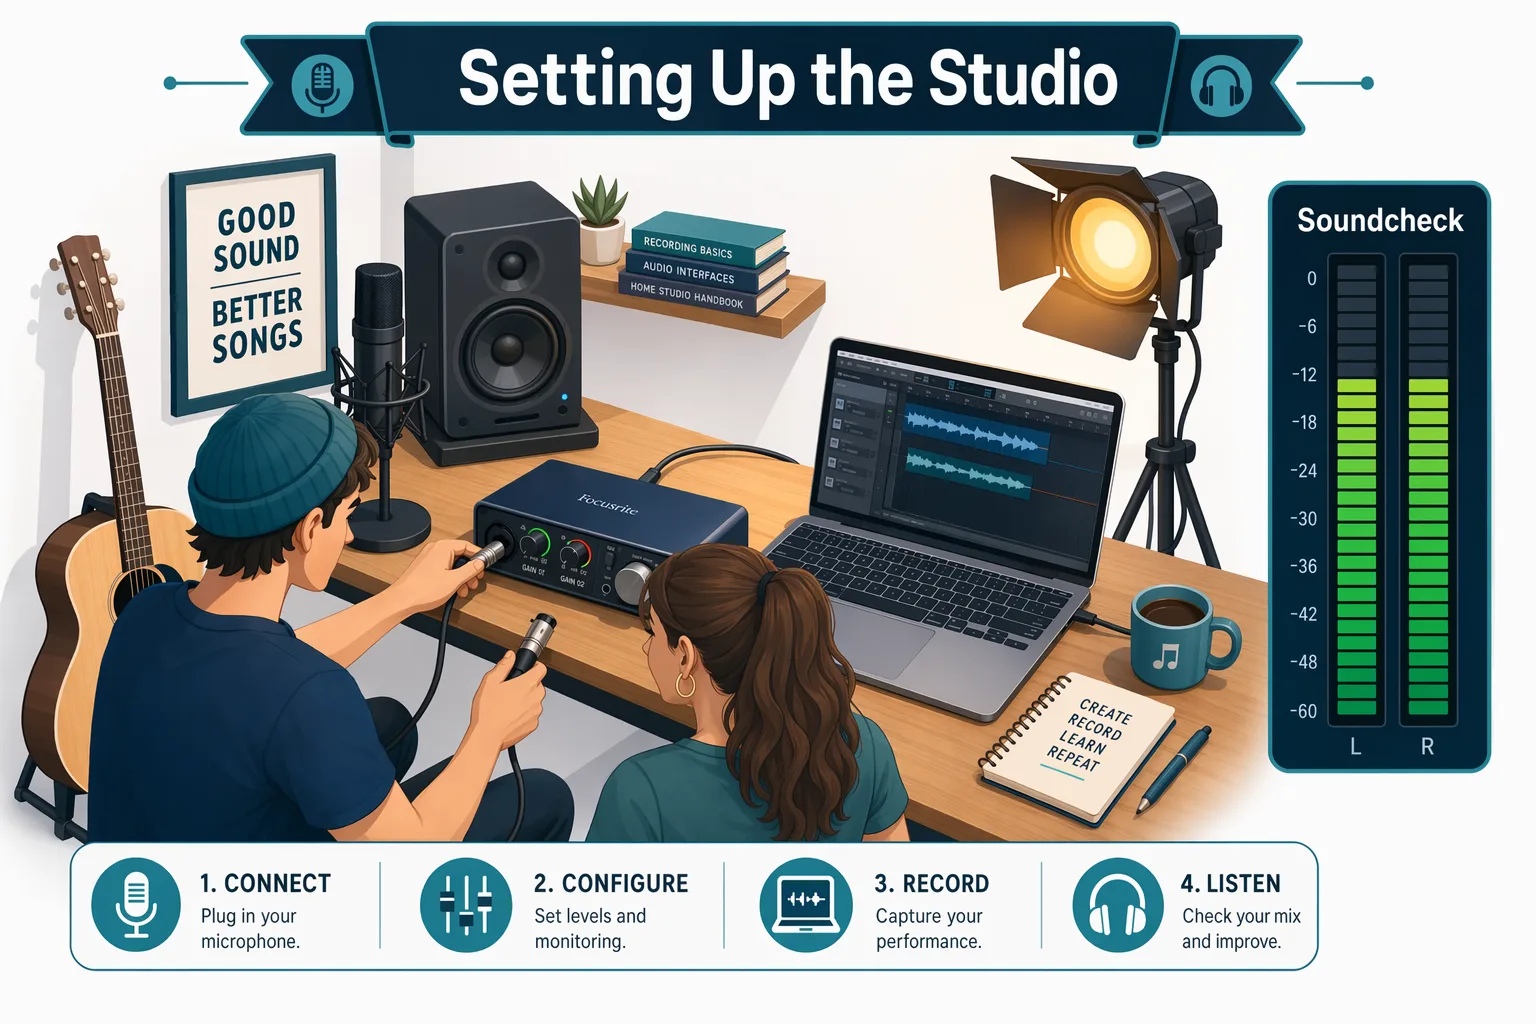
Throughout this course, a recording studio is the recurring analogy for working with the GitHub Copilot app. Each chapter connects a part of agent-driven development to preparing, recording, reviewing, and refining a track.
Before you record anything, you get the studio ready. You sign in for access, plug in your gear, load the song you’ll work on, and run a quick soundcheck before you commit a single take. This chapter is that preparation: install the app, connect the repository, check your tools, and load the practice items.
Installation
-
Download and install the GitHub Copilot app for your operating system.
-
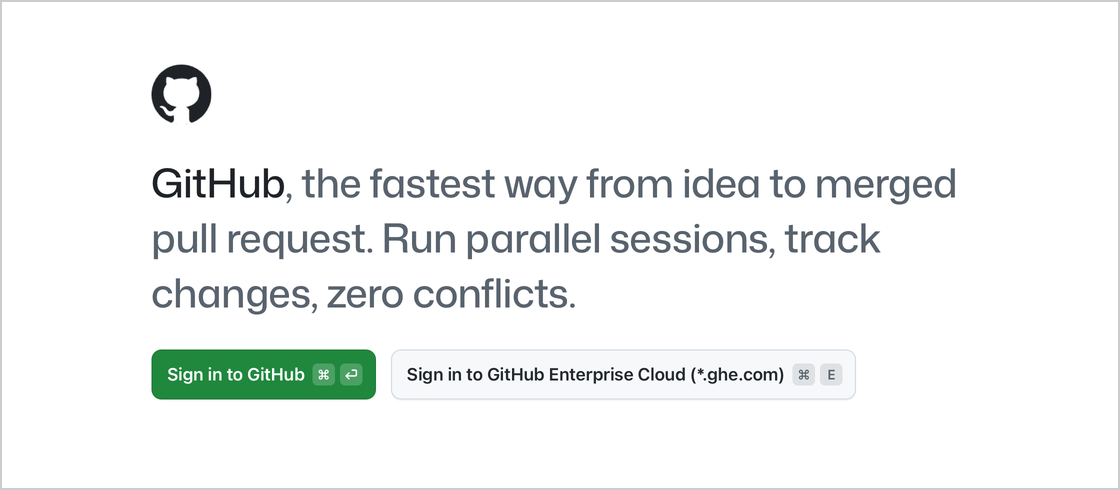
Open the app and select Sign in to GitHub.
-
Sign in with your GitHub account.
-
At Connect your repositories, leave every repository unselected, then select Continue. You’ll connect your fork of the GitHub Copilot app for Beginners repository in the next section.
The app opens the New view. If it shows a short tip about a new feature, you can close the tip. Next, connect your copy of the course repository.
Connect to Your Repository
-
Fork the course repository on GitHub. A fork is your own copy of the repository that lives on GitHub.
-
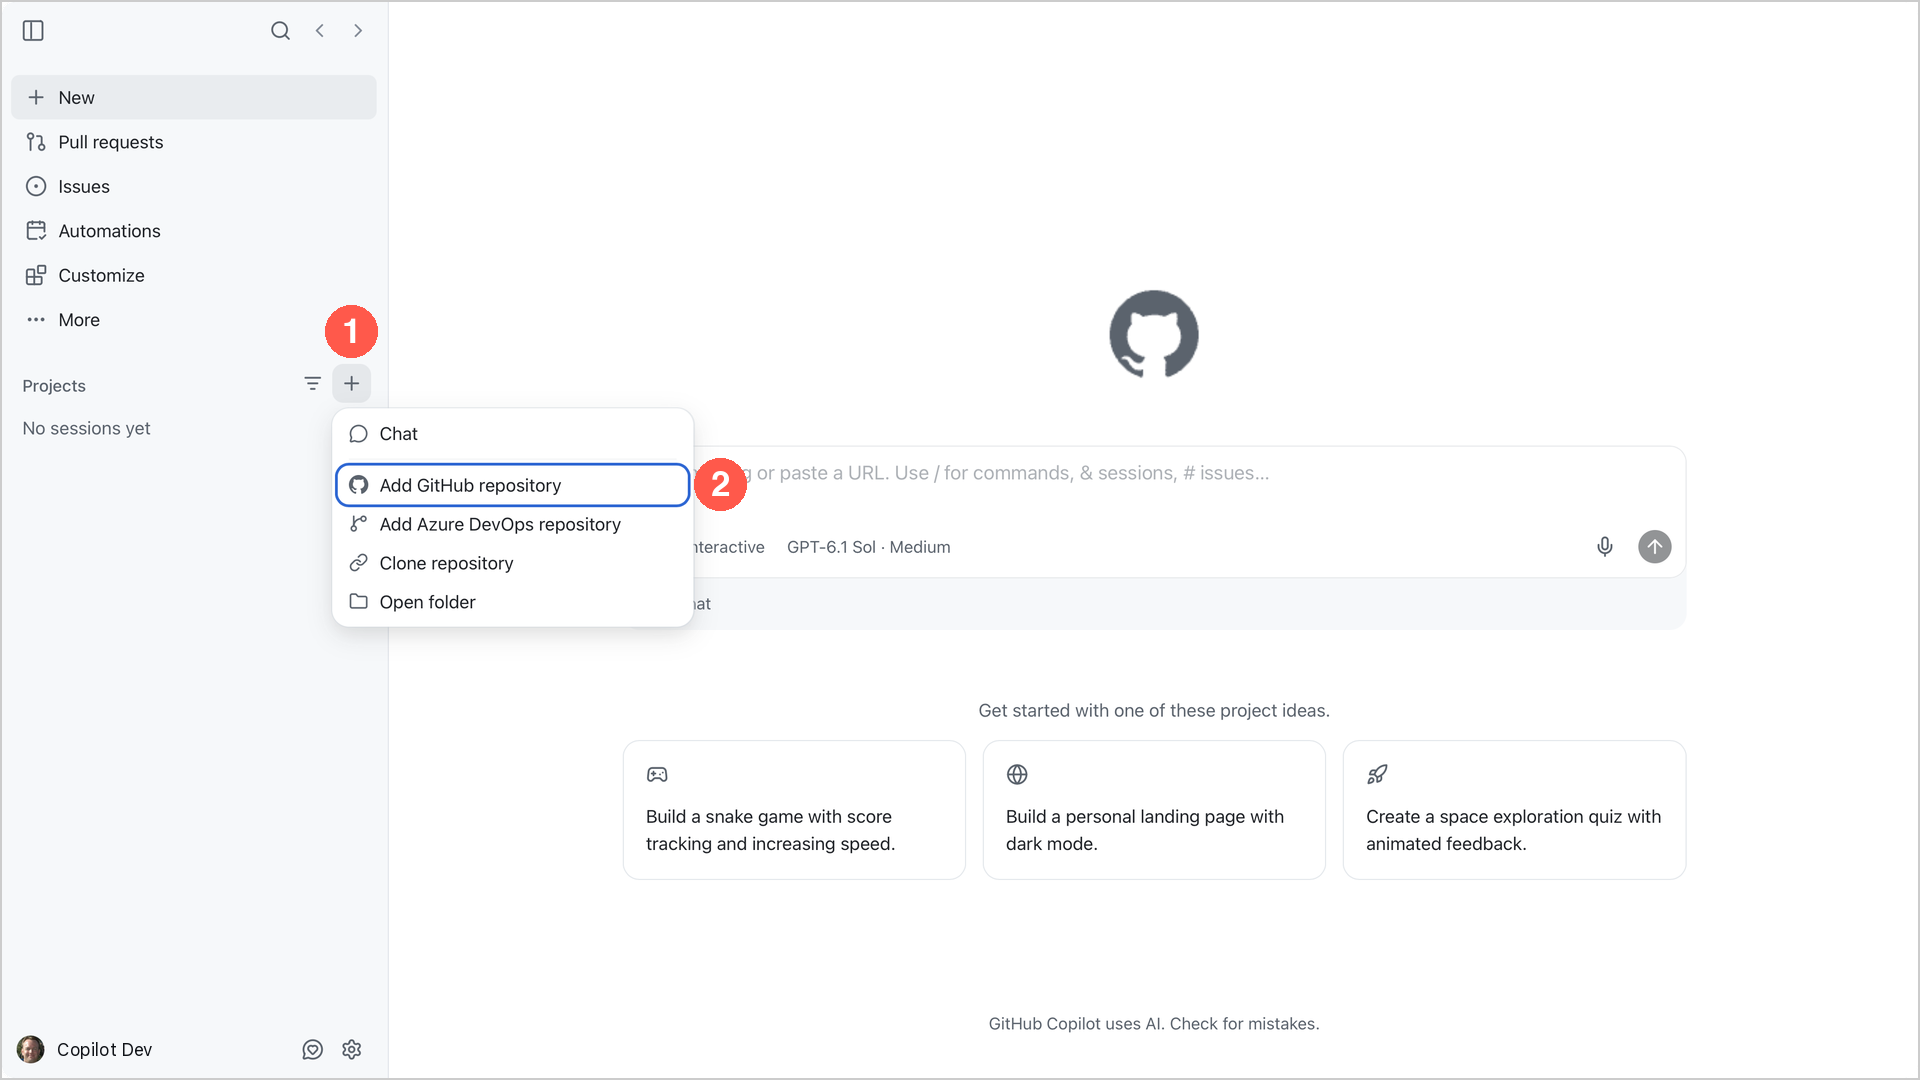
In the Copilot app, select + next to Projects, then select Add GitHub repository.
-
Type
copilot-app-for-beginnersin the search box. Select your fork, the result that starts with your GitHub username, notgithub/copilot-app-for-beginners. The app downloads a local copy (clones it) and adds the project to the sidebar.
Other ways to connect a repository
Select + next to Projects, then choose the option that matches what you have:
| If you have… | Select |
|---|---|
| A local copy of your fork | Open folder, then select the folder |
| Your fork’s repository URL | Clone repository, paste the URL in Repository URL, then select Clone |
Check Your Tools in Terminal
-
Confirm that the sidebar shows
copilot-app-for-beginnersunder Projects. -
Point to the
copilot-app-for-beginnersproject in the sidebar. Select the + that appears next to it to start a project session. -
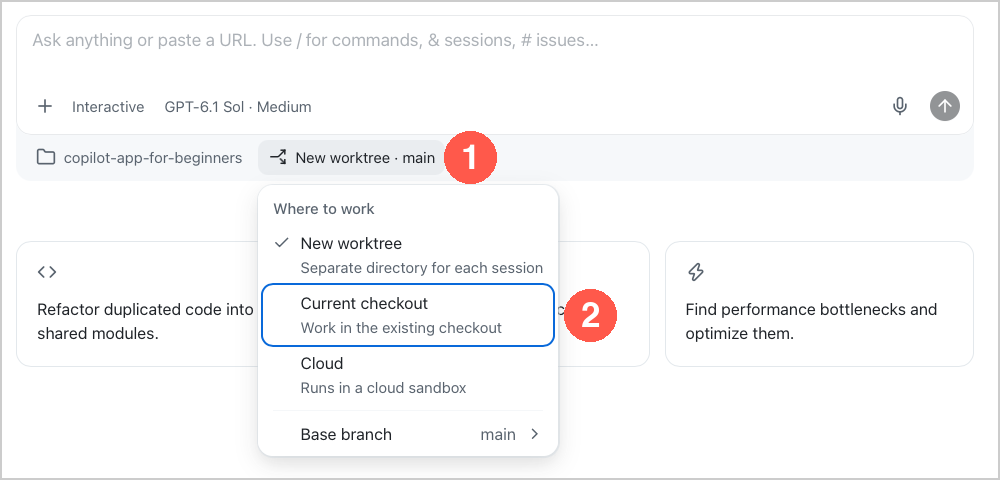
Select the workspace selector below the prompt box, then choose Current checkout.
This uses the clone already on your machine for setup. You’ll learn about the other options in later chapters.
-
Submit this short prompt to create the session and test it out.
Name the top-level folders in this repository. Do not change any files. -
Select View > Toggle Review Panel to open the side panel if it is not already visible.
-
Select Terminal. If you don’t see it, select +, then Terminal.
-
In Terminal, run each of these version checks to ensure that the prerequisites are installed correctly.
git --version
node -v
npm -v
gh --version
Each command should display a version number. For
node -v, the sample app requires Node.js LTS or later.Windows: npm fails because running scripts is disabled
In PowerShell,
npm -vcan fail with a message thatnpm.ps1cannot be loaded because running scripts is disabled on this system. To continue, usenpm.cmdin place ofnpmfor every npm command in this course. For example, runnpm.cmd -vandnpm.cmd test -- --run.If your organization allows it, you can let PowerShell run local scripts instead. Run
Set-ExecutionPolicy -ExecutionPolicy RemoteSigned -Scope CurrentUser. If PowerShell asks you to confirm, typeY. Then thenpmcommands in this course work as written.Install only the tools that are missing, using the links in Prerequisites, then run the checks again.
-
The setup script uses the GitHub CLI, which has a separate sign-in. Confirm that it uses the account you used to create your fork:
gh auth statusIf you are not signed in to that account, run:
gh auth loginSelect GitHub.com, then Login with a web browser. After sign-in, run
gh auth statusagain and confirm the active account before you continue.
Add the Course Practice Items
The setup script prepares your fork with the practice items used in later chapters:
- Labels to organize the course tasks.
- Issues describing bugs and improvements you’ll work on.
- Practice branches with separate versions of the Book App, including intentional bugs to fix.
- Pull requests with changes to review, a feedback comment to address, and an intentionally failing automated check.
These are training scenarios, not problems with your setup. The intentional bugs stay on practice branches, not main. The script creates items on GitHub in your fork, so you’ll preview its target and planned changes before running it.
-
Open a browser and navigate to your newly forked repository on github.com.
-
Select the Actions tab.
-
New forks disable workflows by default. If you see Workflows aren’t being run on this forked repository, select I understand my workflows, go ahead and enable them.
Enable workflows so GitHub can run automated checks for the practice exercises.
-
Return to the same Terminal tab in the Copilot app. Run this command from the repository root (the folder containing
.githubandsamplessubfolders) to preview the setup without creating practice items:node .github/scripts/setup-training-scenarios.js --dry-runWait for the preview to finish. It ends with
Dry run complete. No changes were made.Confirm that theRepository:line in the output shows your fork before you continue. -
In the same Terminal tab, run the setup script:
node .github/scripts/setup-training-scenarios.js --yesWait for the terminal to show
Setup complete.
Checklist
After setup, you should have:
- A fork connected to the Copilot app
- Course labels
- Training issues
- Practice branches
- Training pull requests
Learn More About the Course Repository
Return to the prompt box in the project session. Submit this request to the Copilot app, not to Terminal:
Give me an overview of the copilot-app-for-beginners course repository. Focus on the learning path and the samples/book-app-web folder.Expected Output: The Copilot app should summarize the course structure and identify samples/book-app-web as the web sample used for later exercises.
Troubleshooting
If something does not work as expected, check the problems below. The Troubleshooting Reference lists problems and fixes for all chapters.
Setup and access problems
I cannot sign in
Check:
- You’re using the expected GitHub account
- You have a Copilot plan, or you continued with your own model provider
- Your organization left the GitHub Copilot app policy enabled (separate from the Copilot CLI policy)
- If your organization uses
*.ghe.com, you selected Sign in to GitHub Enterprise Cloud
I cannot see the repository
Check:
- You’ve got access to the repository on GitHub
- You selected the correct account or organization
- You tried Open folder if the repository is already cloned
A chat cannot explain the repository
Check:
- The correct repository is connected
- The prompt mentions
copilot-app-for-beginners - The app has permission to read the project folder
The script stops for an organization fork
The script stops before changing a repository owned by an organization. Use this command only if you are authorized to set up that organization fork and have confirmed that the Repository: line shows the correct target:
node .github/scripts/setup-training-scenarios.js --yes --allow-shared-repositoryThe script stops with “Setup failed”
Read the message after Setup failed. Fix the problem that it reports, then run node .github/scripts/setup-training-scenarios.js --yes again. The script reuses the labels, issues, branches, and pull requests that it already created, so it does not make duplicates.
Practice items were not created
If issues are missing, open your fork on GitHub.com. Under Settings > Features, enable Issues, then rerun the script.
If you cannot run the script, complete the manual setup steps in the Training GitHub Scenarios appendix before Chapter 02.
Key Takeaways
- GitHub Copilot app is a desktop control center for agent-driven coding work.
- This course uses
samples/book-app-webas the main sample app path. - Run the setup script so later chapters have practice branches, issues, and pull request scenarios ready.
What’s Next
Your studio is ready! In the next chapter, you’ll answer a practical question first: why use the GitHub Copilot app if you already use GitHub Copilot in an editor or terminal? Then you’ll tour the interface and learn about the different session types and modes.